The Story: Beeing fed up with OSX 10.8.6 (performance is significantly worse (my old macbook boots faster than the new one) they changed hotkeys and menus and i can’t produce *.gif with preview no more… since Jobs is dead – and a selling-Guru is now leading Apple – things have changed – but not to the better)
After all, every modern days macbook is just a Intel-Notebook+EFI.
First i tried debian 7.2.0, with no success.
The EFI probably gave Debian trouble. After a reboot… forgot the error… basically it had trouble booting the thing.
Then i tried Ubuntu… that kind of worked, but i broke the installation after one day of trying to properly setup my system.
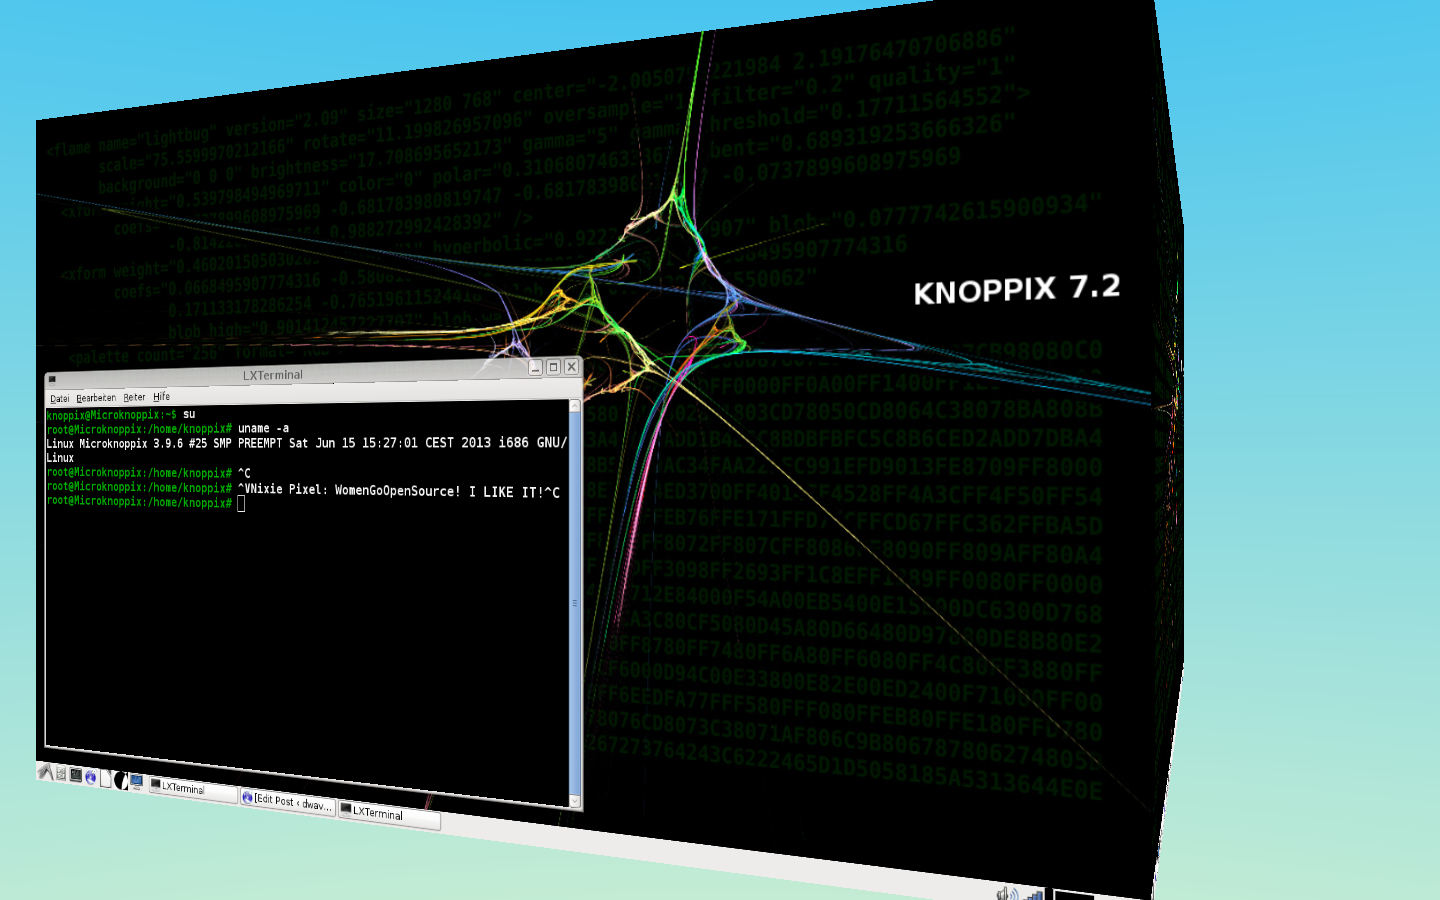
Next was Debian-based Knoppix! 😀 And it JUST works WONDERFUL!
It boots instantly, detects even WIFI! (where Debian had trouble and asking for firmware).
It comes with the kernel Linux Microknoppix 3.9.6 #25.

You can download it here: http://www.chip.de/downloads/Knoppix_13013232.html
Just burn it on a cd with osx’s disk utility and reboot and hold ALT-Key pressed… then choose “Windows” (not windows… but GRUB BOOT).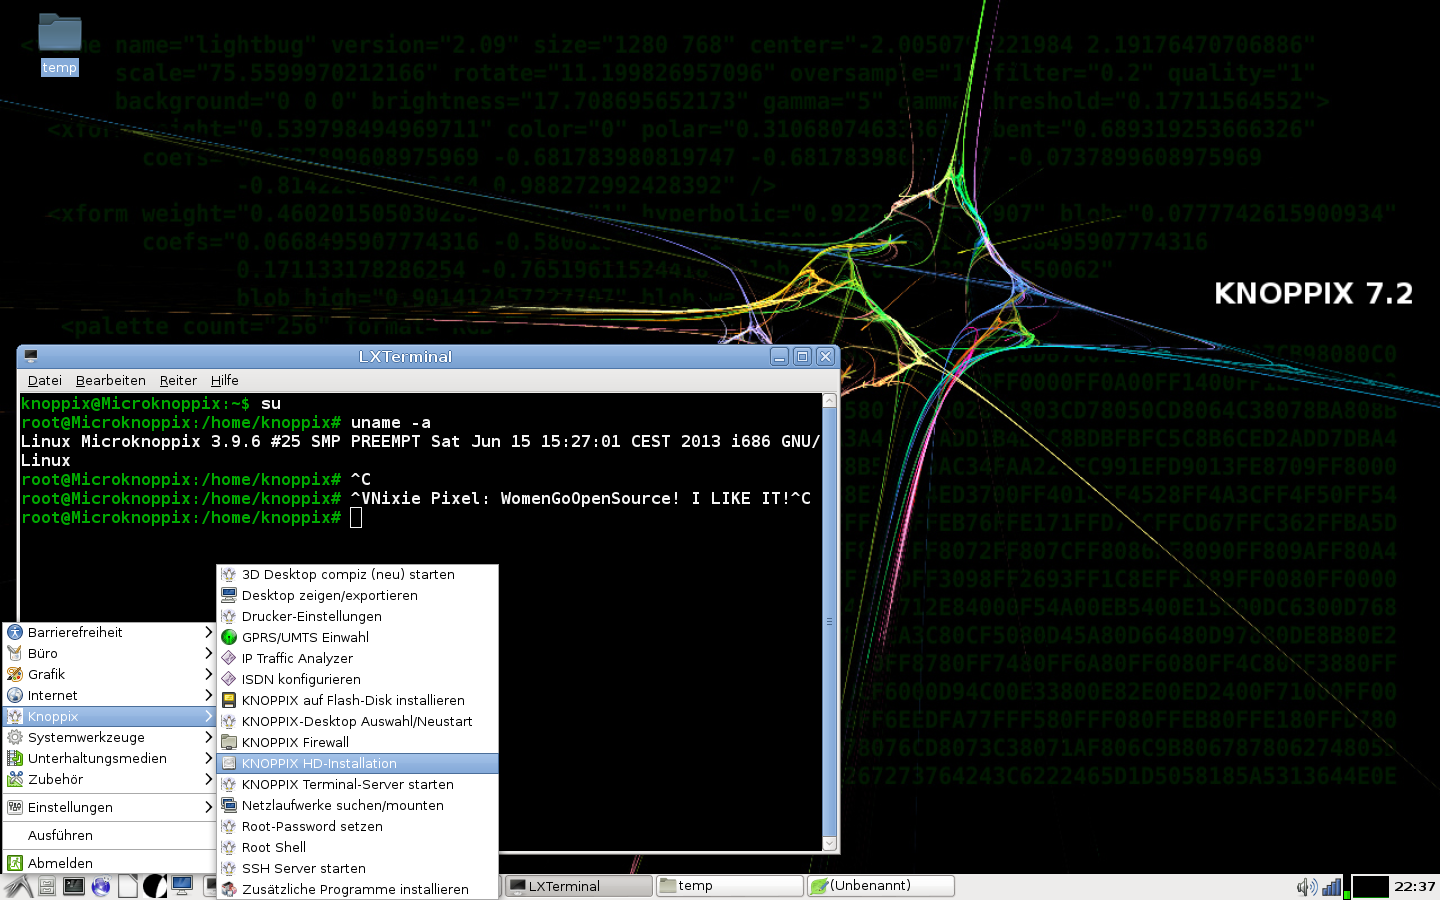
if you want to install knoppix on your harrdisk fire up the “start” menu with Fn+Alt+F1 -> Knoppix -> Knoppix HD installation.
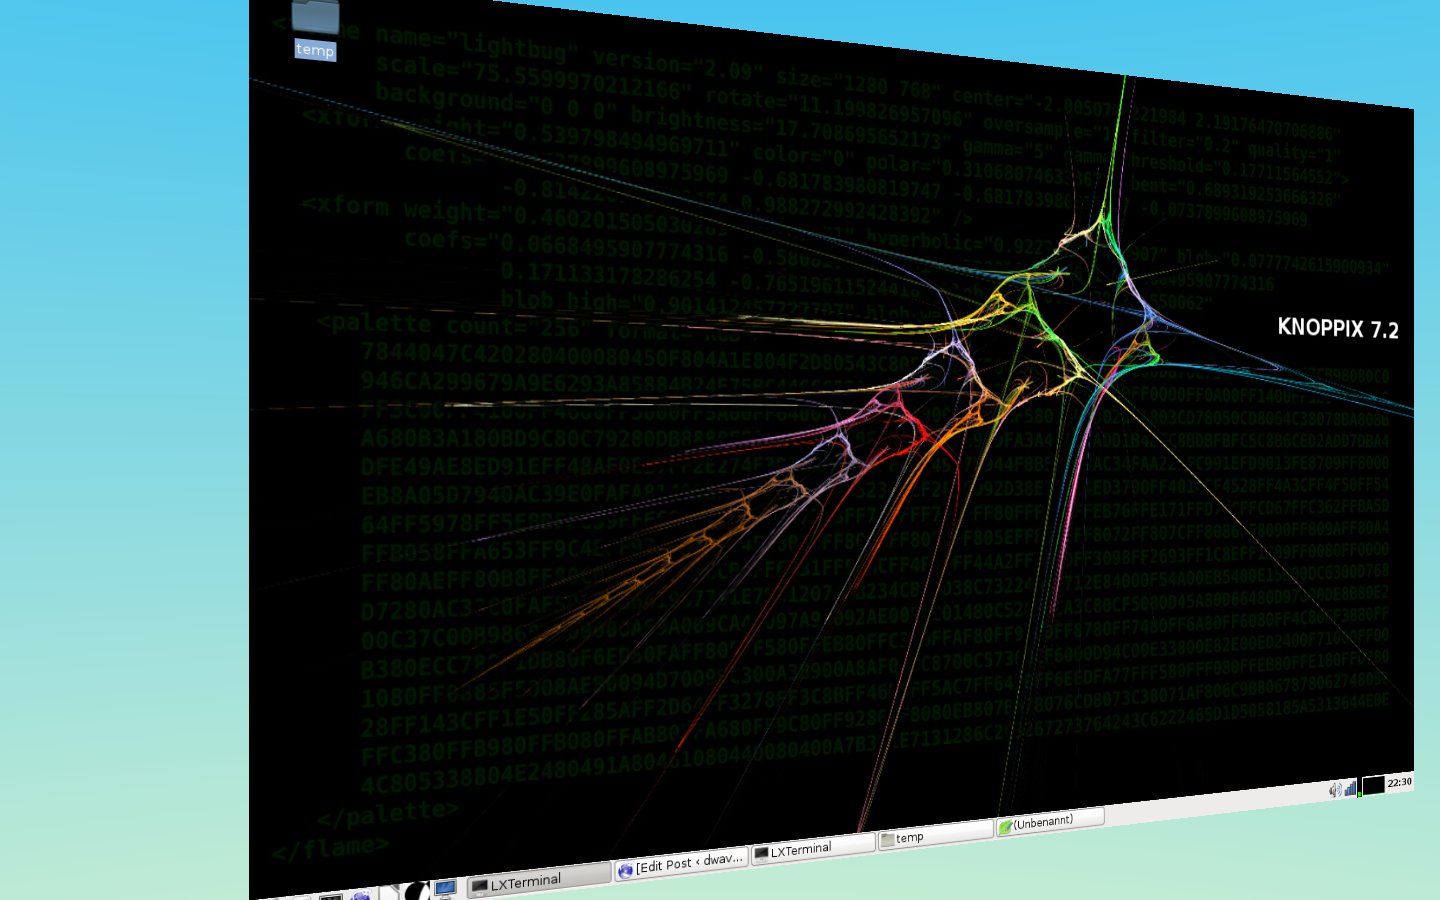
And resource efficient you are then… 😉 Consuming roughly 140MB of RAM with a 3D Desktop…. ain’t that even less than XP needs?

First things to do after knoppix install:
1. because brightness-control is not working: invert the screen… when your eyes start burning 😀
Hit: Shift+Ctrl+C
2. The: @@@ Sign you can do with the right Alt+Q (which acts as Alt+Gr)
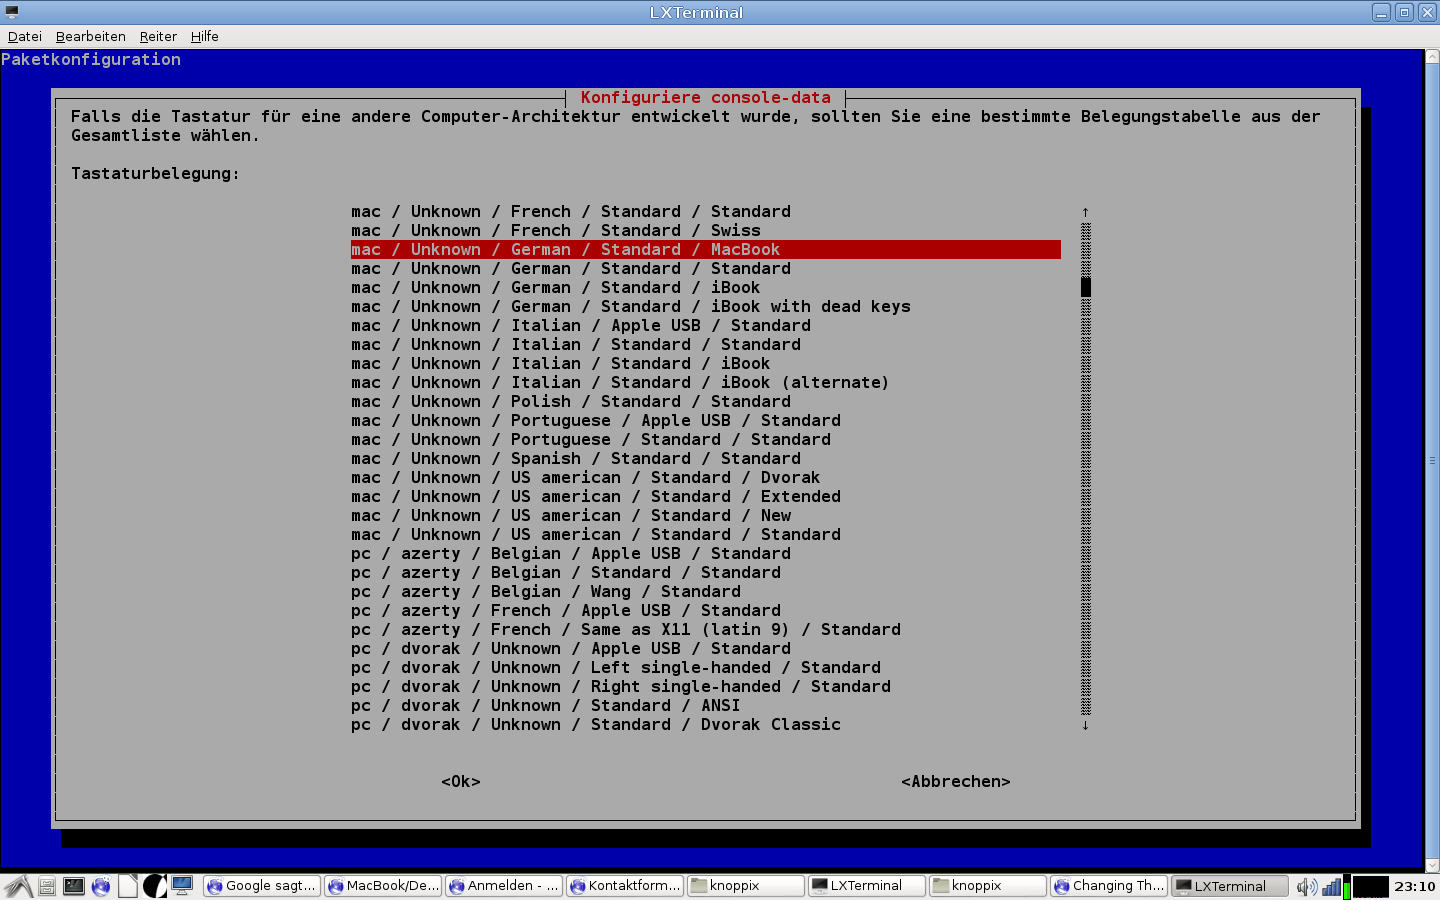
3. How to change keyboard layout under Debian: open terminal:
dpkg-reconfigure console-data
then select “choose from whole list”
additional links: https://wiki.debian.org/MacBook/DebianInstallTutorial
http://refit.sourceforge.net/myths/
Then i tried ubuntu, not with immediate success, but it worked.
Steps to follow:
1. Find out what macbook you have. (check on the backside model id mine read: A1286
which identifies as: MacBookPro9,1 macbookpro mid-2012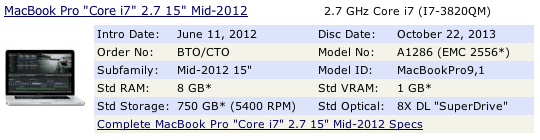
http://www.everymac.com/ultimate-mac-lookup/?search_keywords=A1286
2. download a fitting version (go for the latest developer one?)
MacBook Hardware Revisions and Ubuntu version-specific wikis
Now choose the link to the wiki of your hardware revision and the Ubuntu version you are looking for. If you haven’t decided yet, what version you like to install: We recommend to install the latest official Ubuntu version, which is at the moment Ubuntu 13.04. If there is no such a wiki available, ask for help in the support forum!
- MacBookPro 1,1 1,2:
- Didn’t find any.
- MacBookPro 2,1 2,2:
- Didn’t find any.
- MacBookPro 3,1:
- MacBookPro 4,1:
- MacBookPro 5,1 5,2:
- MacBookPro 5,3:
- MacBookPro 5,4:
- MacBookPro 5,5:
- MacBookPro 6,2:
- MacBookPro 7,1:
- MacBookPro 8,1 8,2 8,3:
- MacBookPro 9,2:
- MacBookPro 10,1:
- MacBookPro 10,2:
http://randomtutor.blogspot.co.uk/2013/02/installing-ubuntu-1304-on-retina.html
http://www.ubuntu.com/download/desktop/create-a-usb-stick-on-mac-osx
How to create a bootable USB stick on OS X
We would encourage Mac users to download Ubuntu Desktop Edition by burning a CD. But if you prefer to use a USB stick, please follow the instructions below.
Note: this procedure requires that you create an .img file from the .iso file you download. It will also change the filesystem that is on the USB stick to make it bootable, so backup all data before continuing.
Tip: Drag and drop a file from Finder to Terminal to ‘paste’ the full path without risking typing errors.
- 1
- 2
Open the Terminal (in /Applications/Utilities/ or query Terminal in Spotlight).
- 3
Convert the .iso file to .img using the convert option of hdiutil (e.g.,hdiutil convert -format UDRW -o ~/path/to/target.img ~/path/to/ubuntu.iso)
Note: OS X tends to put the .dmg ending on the output file automatically.
- 4
Run diskutil list to get the current list of devices.
- 5
Insert your flash media.
- 6
Run diskutil list again and determine the device node assigned to your flash media (e.g. /dev/disk2).
- 7
Run diskutil unmountDisk /dev/diskN (replace N with the disk number from the last command; in the previous example, N would be 2).
- 8
Execute sudo dd if=/path/to/downloaded.img of=/dev/rdiskN bs=1m (replace /path/to/downloaded.img with the path where the image file is located; for example, ./ubuntu.imgor ./ubuntu.dmg).
- Using /dev/rdisk instead of /dev/disk may be faster
- If you see the error dd: Invalid number ‘1m’, you are using GNU dd. Use the same command but replace bs=1m with bs=1M
- If you see the error dd: /dev/diskN: Resource busy, make sure the disk is not in use. Start the ‘Disk Utility.app’ and unmount (don’t eject) the drive
- 9
Run diskutil eject /dev/diskN and remove your flash media when the command completes.
- 10
Restart your Mac and press alt/option key while the Mac is restarting to choose the USB stick.
3. final tip: after pluggin in the USB Stick and rebooting your mac. HOLD DOWN ALT for the boot menu. select “Windows” (confusing…)
WHEN INSTALLING USE THE DEFAULT SETTINGS! (DON’T CHANGE LANGUAGE, DON’T CHECK “DOWNLOAD UPDATES”, DON’T CHECK “INSTALL THIRD PARTY (mp3 fraunhofer) STUFF”)
JUST HIT NEXT, NEXT, NEXT.
When your system is up and running. You can make all the changes you want.
But strangely the setup “freezes” if i modify stuff.
liked this article?
- only together we can create a truly free world
- plz support dwaves to keep it up & running!
- (yes the info on the internet is (mostly) free but beer is still not free (still have to work on that))
- really really hate advertisement
- contribute: whenever a solution was found, blog about it for others to find!
- talk about, recommend & link to this blog and articles
- thanks to all who contribute!